
Using one or more workspaces
Overview
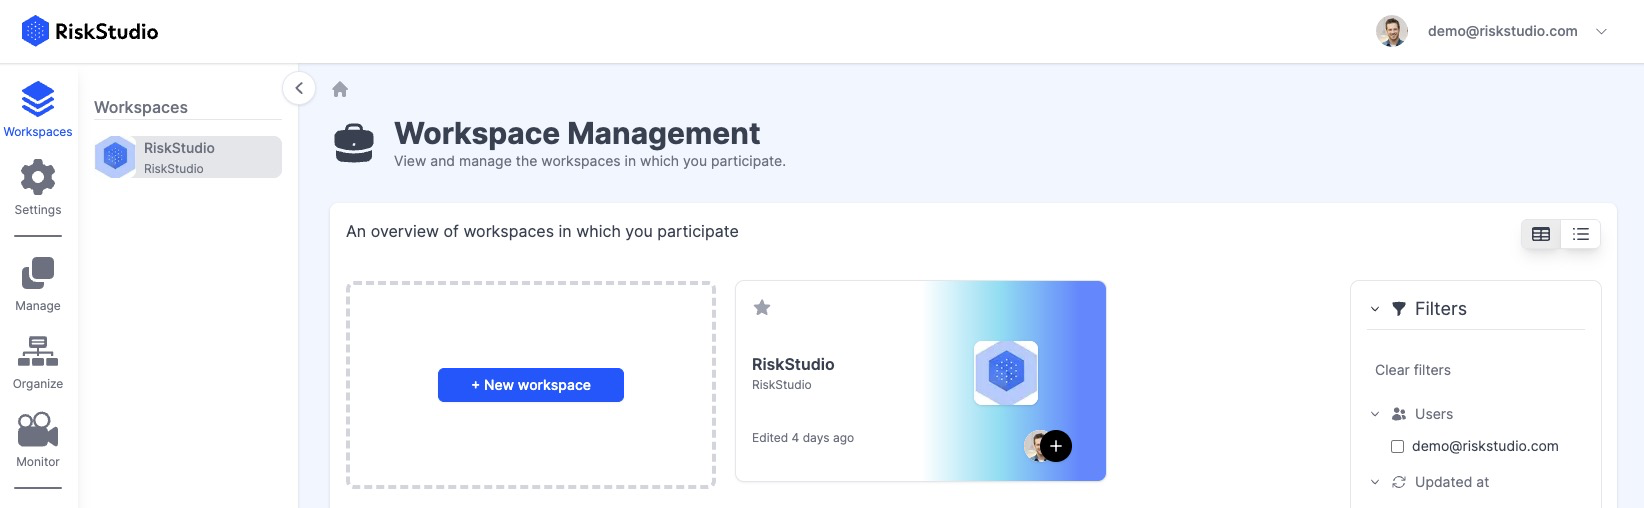
The Workspace Management section is your central hub for organizing different environments within RiskStudio. Workspaces are tailored for teams, departments, clients, customers, or specific projects, with dedicated settings for each. You can easily create, customize and switch between workspaces to ensure that each is optimized for your unique needs. Workspace segregation is based on a multi-tenant architecture.
Key Actions:
Automatic Workspace Creation: RiskStudio creates a default workspace for you when you set up your account, allowing you to get started right away.
Create New Workspaces: Set up additional workspaces for different projects or departments as needed. Easily switch between them from the workspace selection menu.
Customize Workspace Settings: Personalize your workspace by adding logos, changing the color scheme, or updating the workspace name to match your goals. This makes your workspace more aligned with your branding or project focus.
Linked Company Details: Update the company logo or name associated with a workspace, ensuring it reflects any changes within your organization.
Delete Workspaces: Remove unnecessary workspaces to keep your environment organized and focused.
Tips for Getting Started
Use the default workspace for the initial installation and then create new workspaces for specific projects, teams, or in the case of consulting or MSSP, a workspace per client/customer.
Customize each workspace to make it recognizable and suited to its purpose, using visuals and relevant names.
Related pages